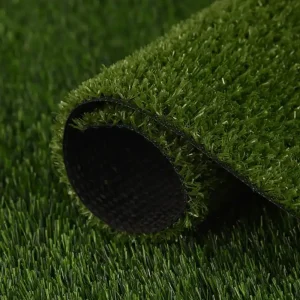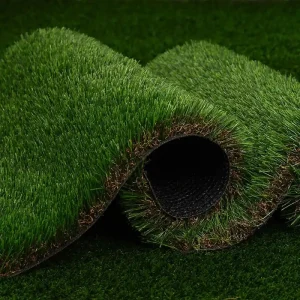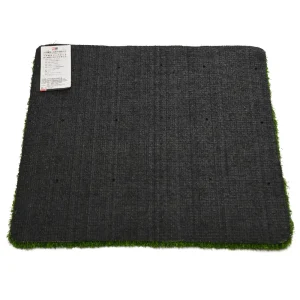
Artificial grass drainage depends on a complete route for water: through or across the turf, into the layers below, and onward to suitable ground or an approved outlet. A permeable backing alone cannot establish how the finished landscape will drain.
Water passing through the turf still needs somewhere to go. If you’re comparing samples, planning a patio lawn or investigating puddles, that missing part of the route matters. A product demonstration can show water leaving a sample while telling you little about the ground beneath your project.
This guide helps you connect product information, site observations and installer records before ordering or choosing a repair. Use our landscape artificial grass buying guide for the wider selection process.
Key takeaways
- Trace the water route beyond the backing to its intended destination.
- Check soil-based and hard-surface projects as different site conditions.
- Match every drainage result to its model, method and test conditions.
- Confirm how joints, edges and added layers fit the planned route.
- Record ponding before asking the responsible specialist to assess it.
For product selection, send X-Nature your model shortlist and intended surface. Ask which product reports and installation documents are available for that configuration.
How artificial grass drainage works
Start at the surface and backing
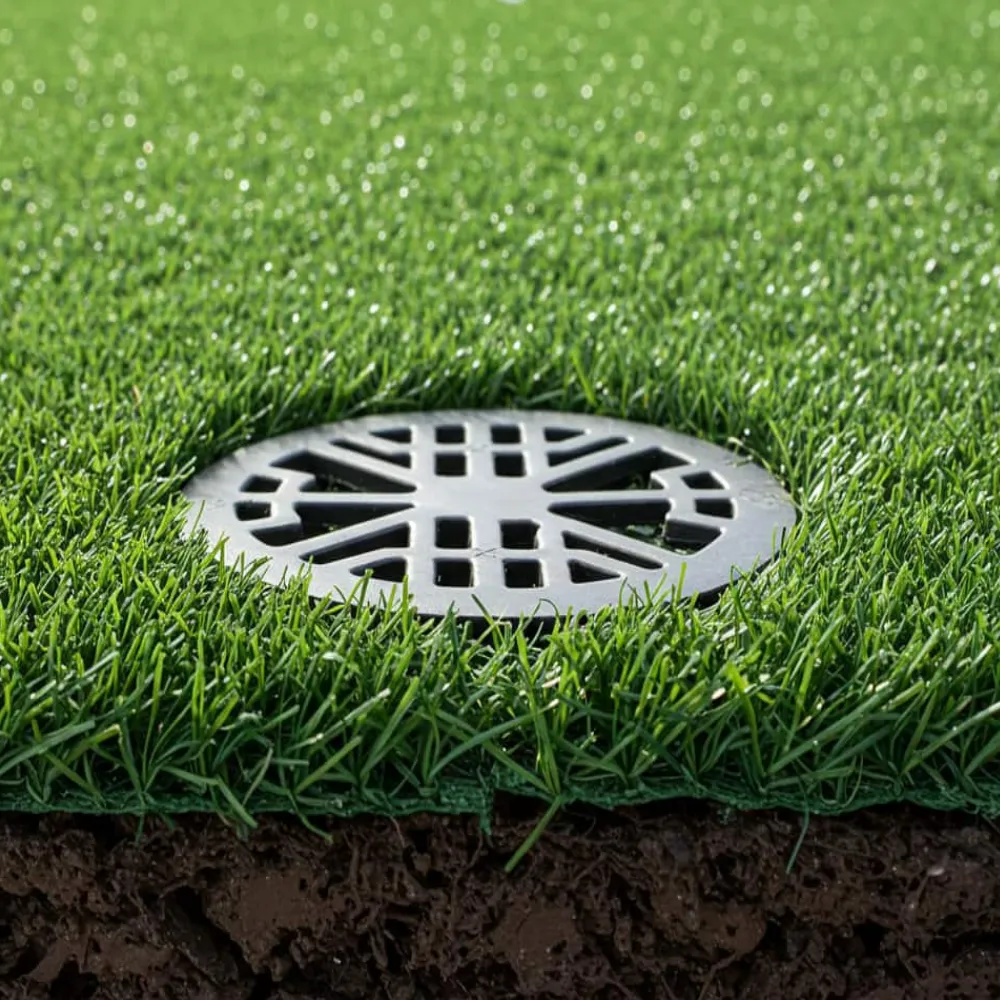
The surface, any specified infill and the backing form part of the route. Ask how the offered construction allows water to move and what evidence supports that description. Keep the answer attached to the exact model rather than a broad product family.
ANB Furnishing’s drainage guide discusses the base or drainage layer as part of an installation. It is a commercial source written for Singapore, so its local installation context needs to remain visible. The useful buying principle is to ask about the layers beneath the grass as well as the grass itself.
For artificial grass drainage, the question is not simply whether the sample has holes. Ask where water moves after leaving it. The answer should connect the product description to the proposed site arrangement.
Illustrative scenario: A buyer sees water pass through a turf sample and assumes the garden will drain just as quickly. The installer asks where the water will go beneath the proposed lawn. The buyer adds the base and destination to the review before treating the demonstration as project evidence.
Follow the route below the turf
A useful conceptual route is: surface and specified infill → backing → planned base or drainage layer → suitable ground or an approved collection and discharge route. This is a reading aid, not a construction drawing. Your project may require a different arrangement confirmed by its designer.
Artificial grass drainage should therefore be discussed as a connected system. Ask which parts allow downward movement, which direct water sideways and where the receiving route begins. Mark any unexplained gap on the plan.
Before the order is approved, walk through the artificial grass drainage route with the plan in hand. Start at the proposed lawn and name the next part of the route at each step. If no one can identify the receiving point, write that down as an open question. Assign the question to a named project contact and request an answer before the relevant work is accepted.
Check the site before choosing a product
Gather the existing ground information
Start with what happens before the turf is installed. Note existing wet areas, visible runoff routes, changes in level and any known drainage records. Tell the project team about previous flooding or work that changed the surface.
Soil conditions need a site assessment when they affect the proposed water route. Ask the responsible designer or contractor what evidence is needed to establish how the ground receives water. A soil label alone does not supply a complete artificial grass drainage design.
Power Aggregates’ Ireland installation guide also discusses drainage and existing site conditions within a wider installation review. Its commercial advice is regional. Use it to frame site questions, while asking your own project team to confirm the arrangement for your location.
Do not assume that changing the turf product will resolve an existing ground problem. Ask which part of the route is uncertain and what investigation would answer that question. Record the assessment before deciding on additional layers or drains.
Treat concrete and patios as distinct conditions
For a hard-surface project, identify the existing route across the surface and the position of any outlets. Ask whether the proposed turf, joints, adhesive and added layers preserve that route. Confirm how the completed installation will leave access for inspection and care.
Artificial grass drainage on concrete needs this whole-surface review. Water leaving a sample still has to move across or away from the underlying hard surface. An added mat needs a defined role and a suitable destination for the water it carries.
If the area includes waterproofing, a roof deck or structural details, have the responsible party review the proposed installation. Obtain the applicable requirements before work begins. Product selection alone does not establish that the existing surface can accept the planned change.
Confirm the receiving destination
Show the intended destination on the site information. Ask who confirms that it is suitable and that any proposed connection is permitted. Keep that responsibility with the party handling the local drainage design and approvals.
Include nearby buildings, thresholds, boundaries and adjacent surfaces in the review. Ask whether water arriving from outside the turf area has been considered. This makes the artificial grass drainage discussion specific enough for the team to identify missing information.
Read artificial grass drainage test evidence
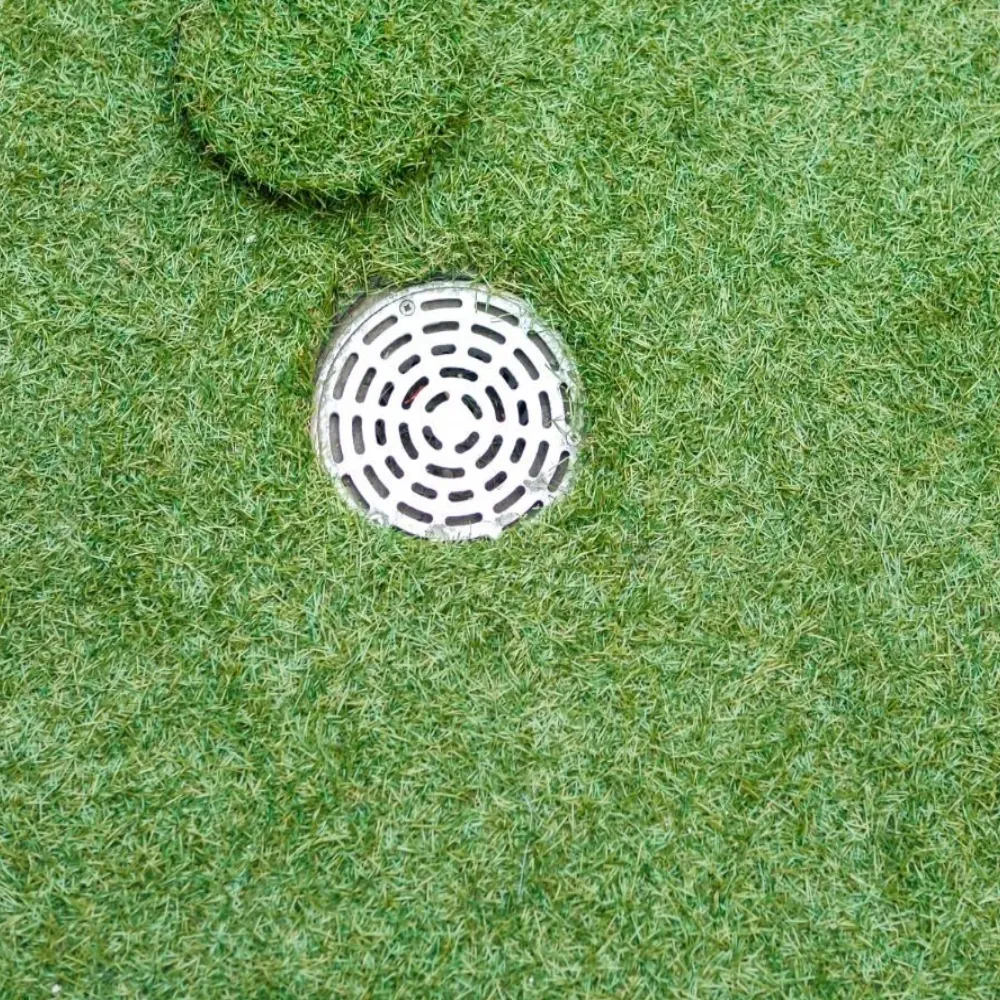
Identify the tested product and conditions
Request a report that names the tested sample and explains its relationship to the offered model. Check the method, date, units and sample conditions before comparing results. If the sample code differs from the quote, ask the supplier to explain the link.
Our artificial grass backing guide covers layer identity and material documentation. Keep those construction questions alongside the drainage report. A coating label does not replace a result for the property being claimed.
Use this original review table for artificial grass drainage evidence:
| Evidence field | Question to resolve |
|---|---|
| Model and sample | Does the report cover the offered construction? |
| Method and edition | What procedure produced the result? |
| Conditions | What layers and sample conditions were included? |
| Units and result | Can this be compared directly with the other report? |
| Test scope | Was this a material specimen, assembly or installed area? |
| Project use | Who explains how the result informs this site? |
Keep unanswered artificial grass drainage fields visible. Don’t assume a pass. Ask which document supports each claim.
Separate specimen results from site performance
In its October 2018 engineering brief, SGH distinguishes flow through a material specimen from infiltration through an installed field surface. It also discusses how construction details and material conditions affect investigations. The source addresses sports fields; it does not provide a residential landscape specification.
That distinction matters when reading artificial grass drainage claims. A laboratory result answers a question under its stated conditions. It should not become a promise that an unrelated garden will remain free of puddles during every rainfall event.
Ask the project designer what site evidence is needed in addition to the product report. Keep product testing, installation checks and any site acceptance criteria separately named. The team can then explain how each piece contributes to the decision.
Plan interfaces and responsibilities
Check joints, edges and added layers
Review the proposed joining and fixing method with the applicable product instructions. Ask how joints, adhesive placement and edge details fit the intended water route. Have the installer identify the approved method for the actual turf and receiving surface.
The same check applies to pads, mats and separation fabrics. Ask why each layer is included and which document explains its role. Artificial grass drainage depends on the combined arrangement rather than the name of one added product.
Illustrative scenario: A contractor proposes a drainage mat under a patio lawn, but the drawing does not show how water leaves the mat. The owner asks for the edge and outlet details before accepting the change. No drainage improvement is assumed until the arrangement has been explained.
If a product or method changes, update the plan and supporting instructions together. Ask the responsible parties to resolve any conflicting requirements before installation. Keep the accepted version with the order and handover records.
Assign the evidence to an owner
Use a responsibility table to keep artificial grass drainage questions from falling between suppliers and contractors. The titles below are suggested roles; assign actual people or organizations for your project. One organization may hold more than one role.
| Role | Information to request |
|---|---|
| Product supplier | Model identity, relevant reports, installation and care documents |
| Site designer | Intended water route, receiving destination and design assumptions |
| Installer | Proposed methods, materials and records of the completed work |
| Owner or operator | Existing observations, access needs and future care arrangements |
Confirm who will approve the final arrangement and who receives later questions. A complete artificial grass drainage file should make the handover understandable to someone who was not involved in purchasing. Keep contact details and document dates easy to find.
Record ponding before deciding on repairs
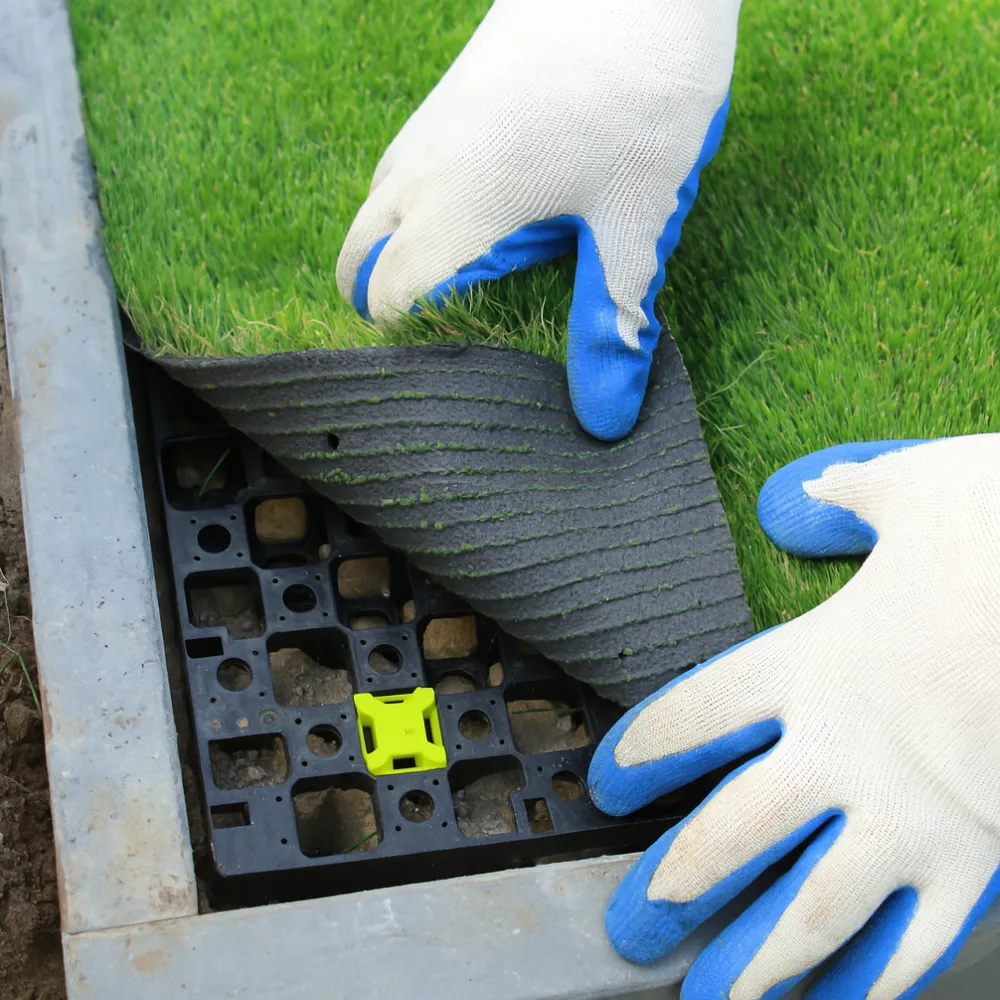
Describe what you can observe
Start an observation record when water collects. Note where it appears, when it was first noticed and what the weather was doing. Photograph the same area from repeatable positions so later observations can be compared.
Add any recent changes, such as nearby building work, new edging or a changed cleaning routine. Record what you know about the artificial grass drainage outlet and its accessible condition. Avoid turning an unknown item into a diagnosis.
For an artificial grass drainage enquiry, collect:
- The model and installation date, if known.
- A marked location plan and photographs.
- The timing and extent of the visible water.
- Weather observations and any available rainfall record.
- Recent changes and actions already taken.
- The relevant installation, care and site documents.
These records help the assessor choose what to examine. They do not prove which layer is responsible. Keep the distinction clear when asking for a repair proposal.
Match investigation to the evidence
A puddle shows where water sits. It doesn’t explain why. Ask the responsible specialist which possible causes need checking and what evidence would distinguish them. Product reports and records of the installed arrangement can help frame that investigation.
Use care instructions for routine cleaning of accessible surfaces and outlets. If the proposed action would disturb the base, waterproofing, buried services or structural details, have the relevant local professional assess it. Avoid making repeated unconfirmed changes before the problem has been reviewed.
Illustrative scenario: An operator sends one puddle photograph but cannot identify the location or timing. The assessor requests a marked plan, repeat photographs and the installation records. The next discussion uses that fuller record rather than selecting a repair from the first image.
After any agreed work, ask what was changed and what follow-up observation is expected. Record the conditions during that follow-up. Artificial grass drainage performance should be reviewed against the project requirements and circumstances, without inventing a universal drying deadline.
Build a product and handover checklist
Connect the model to the site file
Choose the product shortlist from the landscape grass range. The HBA40 product page provides a model identity and published construction descriptions. Those descriptions do not establish drainage capacity for your site.
For artificial grass drainage, request the available report and instructions for the quoted configuration. If a page uses XPU as a backing label, ask for its meaning in the model documents. Do not infer a drainage result from that name.
Keep a route checklist with the order:
| Route part | Required record | Responsible party | Open question |
|---|---|---|---|
| Turf construction | Model and applicable report | To assign | To confirm |
| Joints and interfaces | Accepted installation method | To assign | To confirm |
| Base or added layer | Site plan and material record | To assign | To confirm |
| Receiving ground or outlet | Confirmed destination | To assign | To confirm |
| Completed installation | Final arrangement and care file | To assign | To confirm |
Prepare for use and later enquiries
At handover, ask for the final layout, approved changes and care instructions. Confirm how the operator can inspect the intended accessible points. Store the artificial grass drainage records where the person doing the care work can find them.
Keep an index at the front of the file. List the drawing, product report, accepted installation method and care guide with their dates. When a document changes, mark the old copy as replaced. This makes a later artificial grass drainage enquiry easier to follow without asking the operator to reconstruct the purchase history.
To complete the product part of that file, ask X-Nature which model documents are available. Include the proposed surface, intended use and the exact report questions. Confirm site design and repair responsibilities with the parties appointed for that work.
Frequently asked questions
Does artificial grass let rainwater through?
The answer depends on the offered construction and its intended installation. Ask for evidence describing how the model handles water. Artificial grass drainage also needs a route through or across the underlying layers to a suitable destination, so the product result is only part of the review.
Do backing holes guarantee that there will be no puddles?
No. Holes describe a feature, while the completed system also includes its underlying layers and receiving route. Ask what the reported test covers. Keep any claim about artificial grass drainage tied to the actual method, sample and project conditions.
Can artificial grass be installed on concrete?
Have the project team check the existing surface, route to the outlet and proposed fixing method. Confirm that any added layers fit that arrangement. Where waterproofing or structural details are involved, obtain the relevant review before installation rather than assuming a turf sample settles the question.
What should I check if the ground is clay?
Ask the responsible site professional what ground assessment and drainage information the project needs. Identify existing wet areas and the intended receiving route. Do not choose a universal base depth or drain arrangement from the soil name alone.
Is a drainage mat always necessary?
Its role should come from the proposed system and site requirements. Ask what the mat does, how it interfaces with adjacent layers and where its water goes. A product called a drainage mat does not, by itself, complete the artificial grass drainage route.
How long should a puddle take to disappear?
This guide does not set a universal time limit. Record timing, location, weather and the relevant project requirements, then ask the responsible assessor to review the observation. A single elapsed time without those conditions cannot identify the cause or establish a repair.
Trace the route, match the evidence and keep the records together. For the product portion of your artificial grass drainage review, send X-Nature your model and documentation questions. Use the response alongside your site team’s plans to complete the project file.