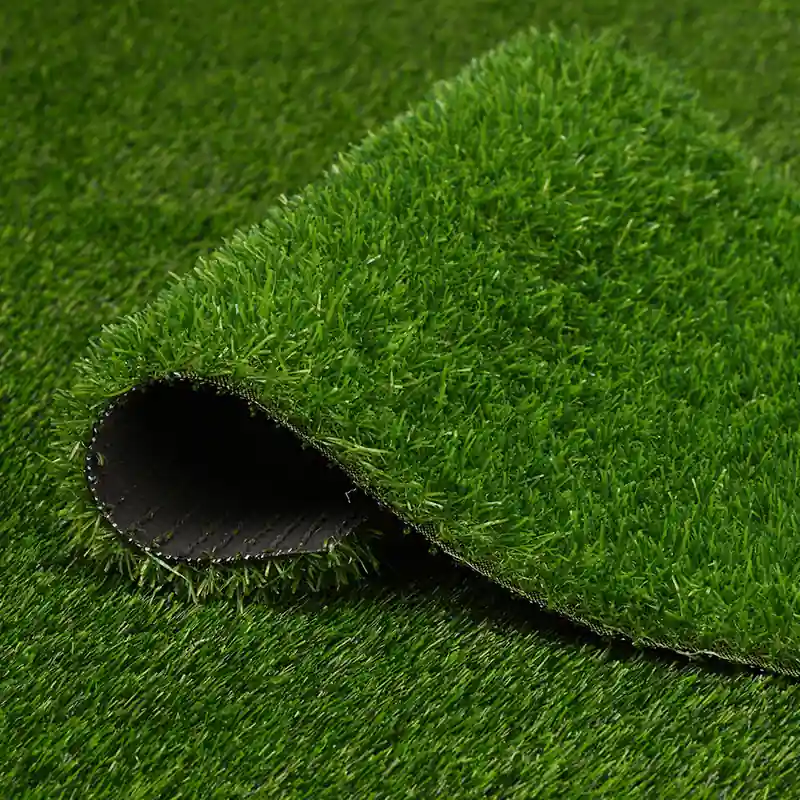
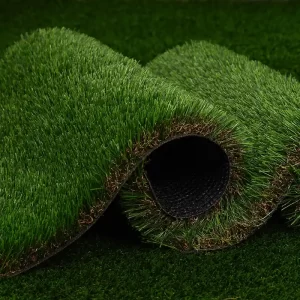
| Model:RM8230 | Material:PE+PP/9000 |
|---|---|
| Pile Height:30+5%mm | Back Coating:Styrene-Butadiene Latex(SBL) |
| Gauge:15stitches/10cm | Weight:1.33kg/㎡ |
| Color:Three-color | Package:By roll in pp bag |
| Size:Roll Specification: 4m (Width) × 25m (Length) | |
| backing:Black-green anti-aging base + tear-resistant reinforced mesh |

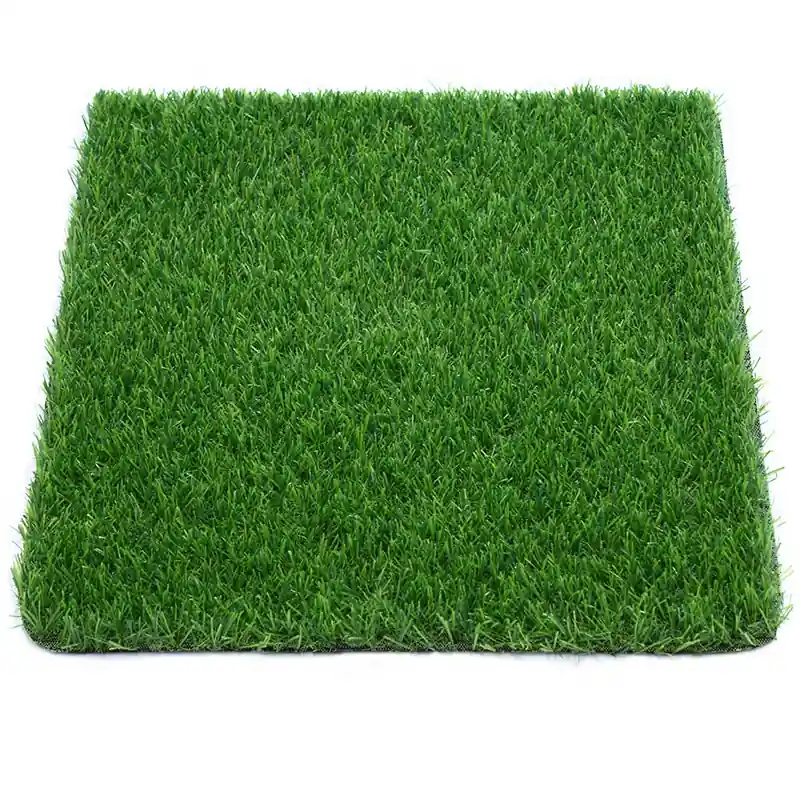
This artificial turf has a 20mm pile height and a two-color composition. Ideal for urban…
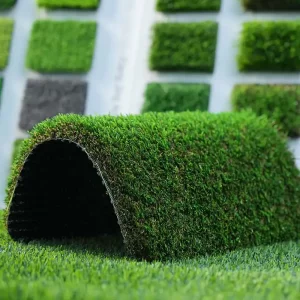
This artificial turf with a 25mm pile height is dense and thickened, suitable for frequent…
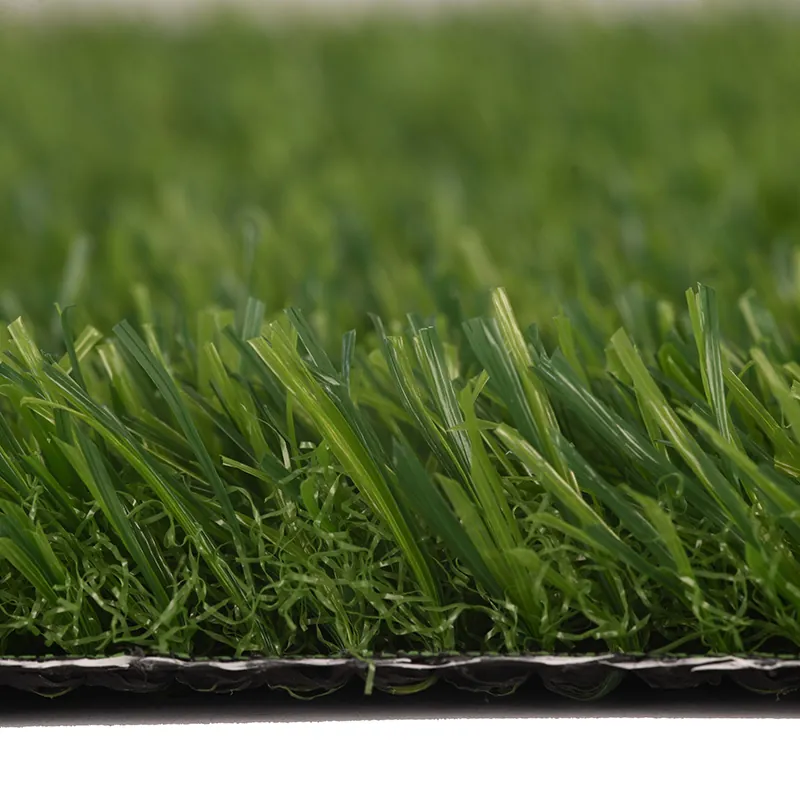
This artificial autumn turf features a 40mm pile height, composed of four-color straight and crimped…
This high-simulation autumn turf has a 30mm pile height with a dense and thick structure,…